Absolutely Plausible
The DJ Pallet Table
A mobile DJ booth built entirely from reclaimed pallets — the field guide's nine steps run on a real build, start to finish.
Zero-waste · 100% upcycled · built where it plays
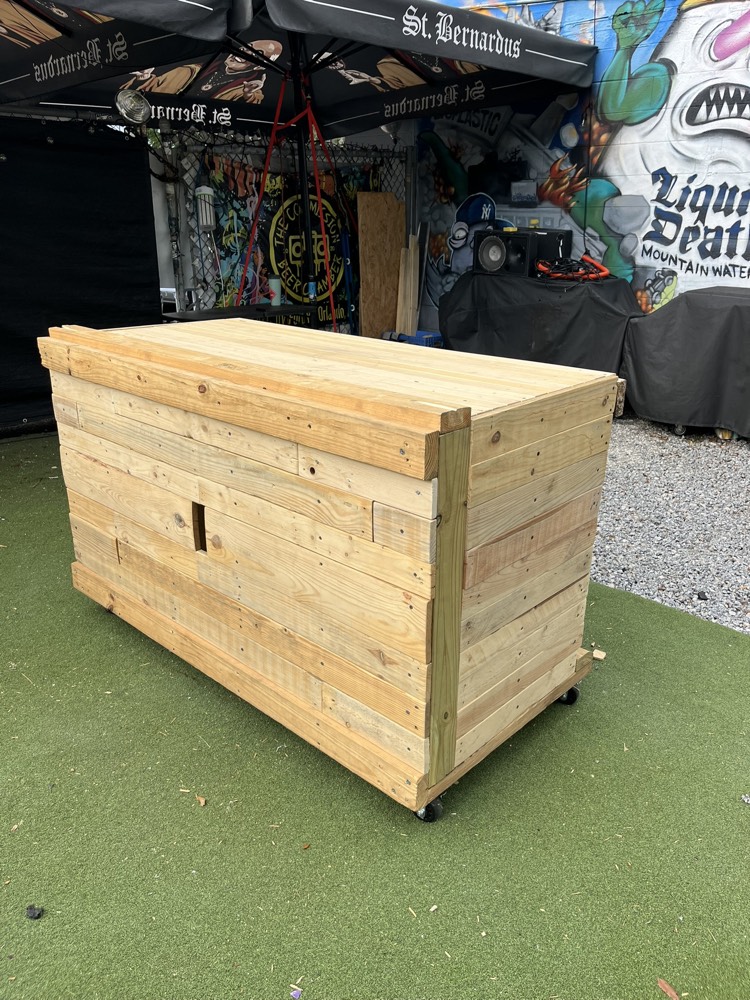
9 sessions · 29 daysEvery stage photographedRolls on casters
This is the worked example from the field guide — the method itself lives at Build Real Things from Pallet Wood.
Build log
Start to finish
Twelve moments from the log, in order, tagged with the step of the process they belong to.
Apr 15Step 1 · Source
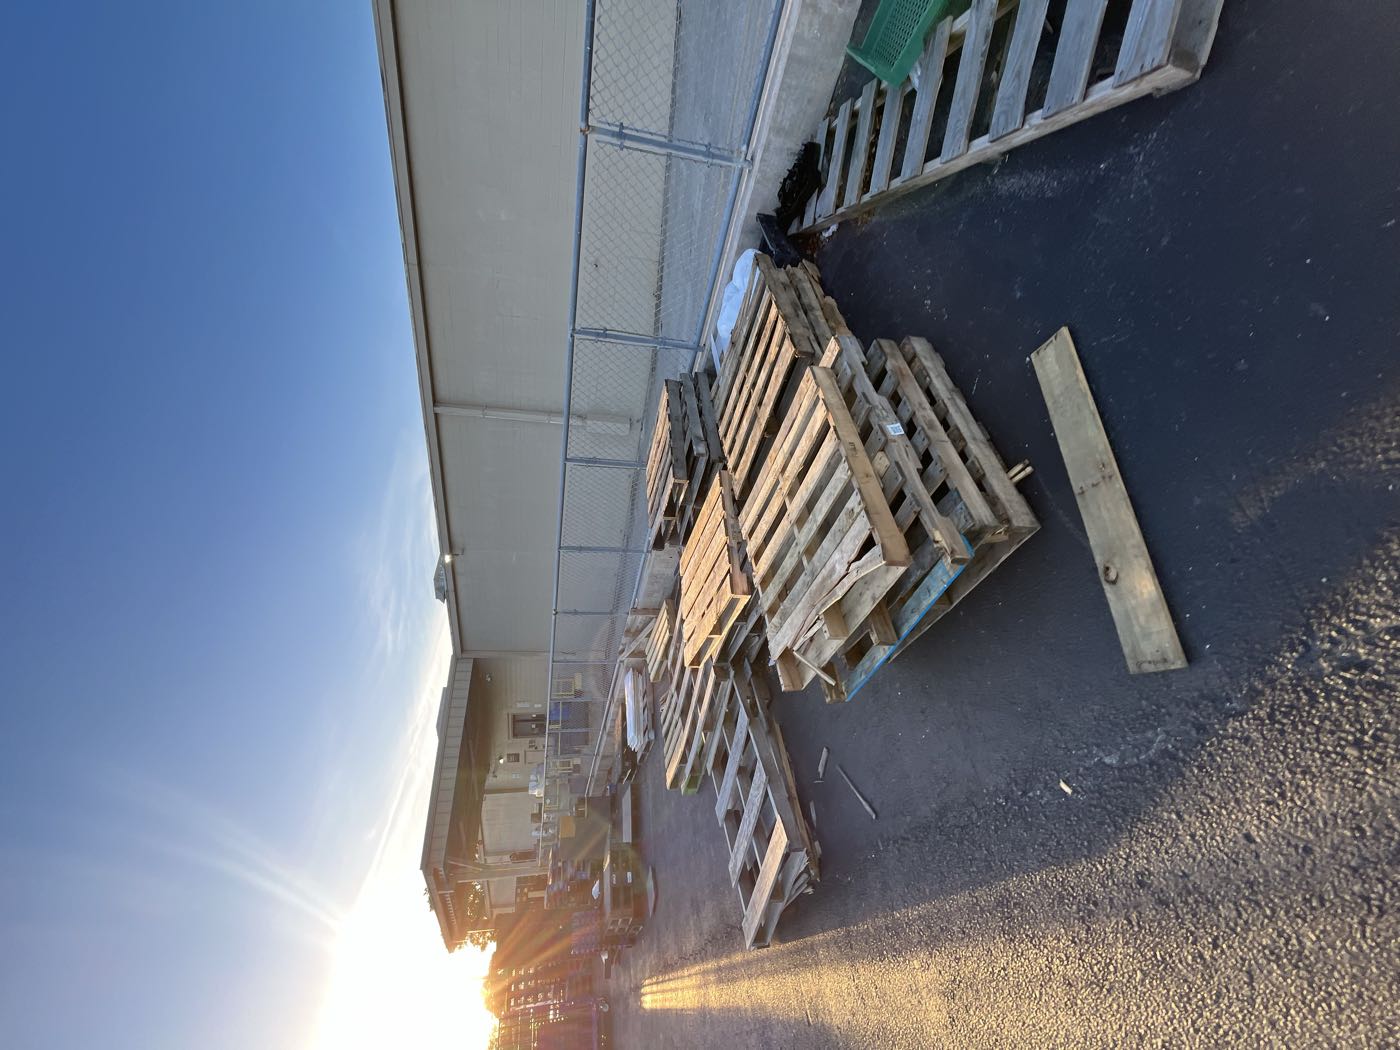
A truckload of free pallets
The build starts where the guide says it starts: collecting more pallets than the plan needs. Every one of these was headed for the dumpster. Stacked, inspected, and hauled with a waste margin — some of these boards will split, and that has to be fine.
Apr 16Step 7 · Assemble
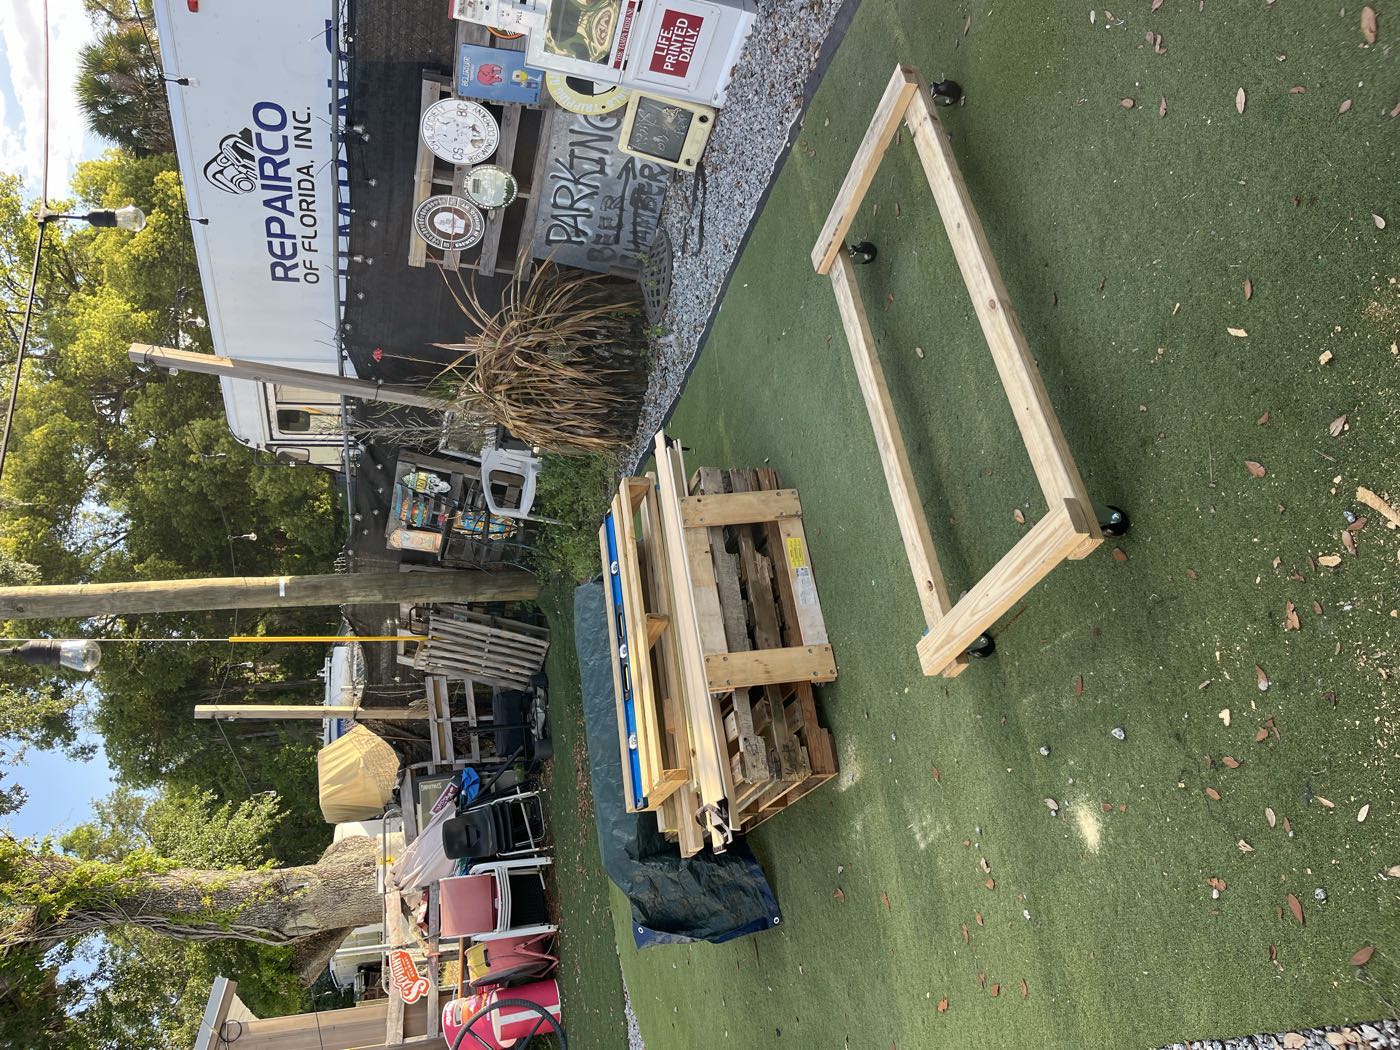
The base goes rolling first
A DJ booth lives on wheels — it has to roll out for a show and roll away after. So the very first assembly is a low rectangular base frame on casters. Everything else in this log gets built on top of it.
Apr 21Steps 3–4 · Deconstruct & prep
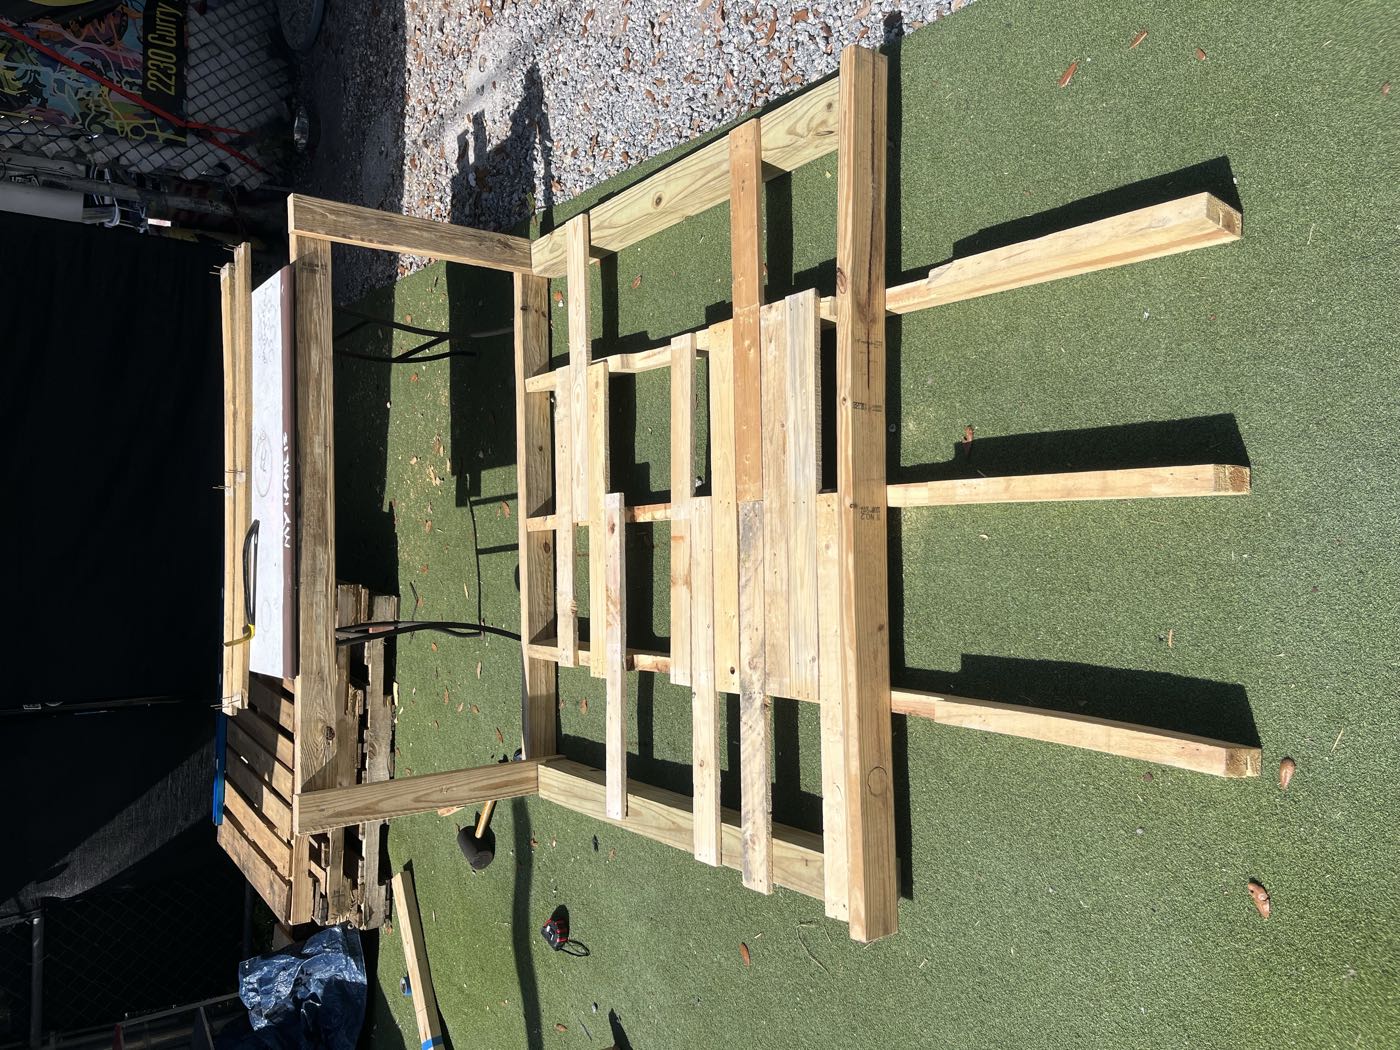
Break down, lay out, sort
Pallets apart, nails out, and the reclaimed boards laid out across the flat frame to find their places. This is the unglamorous middle of every pallet build — and exactly the "hidden time sink" the guide warns about. The layout doubles as a live inventory: the design gets drawn around these boards, not an ideal cut list.
Apr 21Step 7 · Assemble
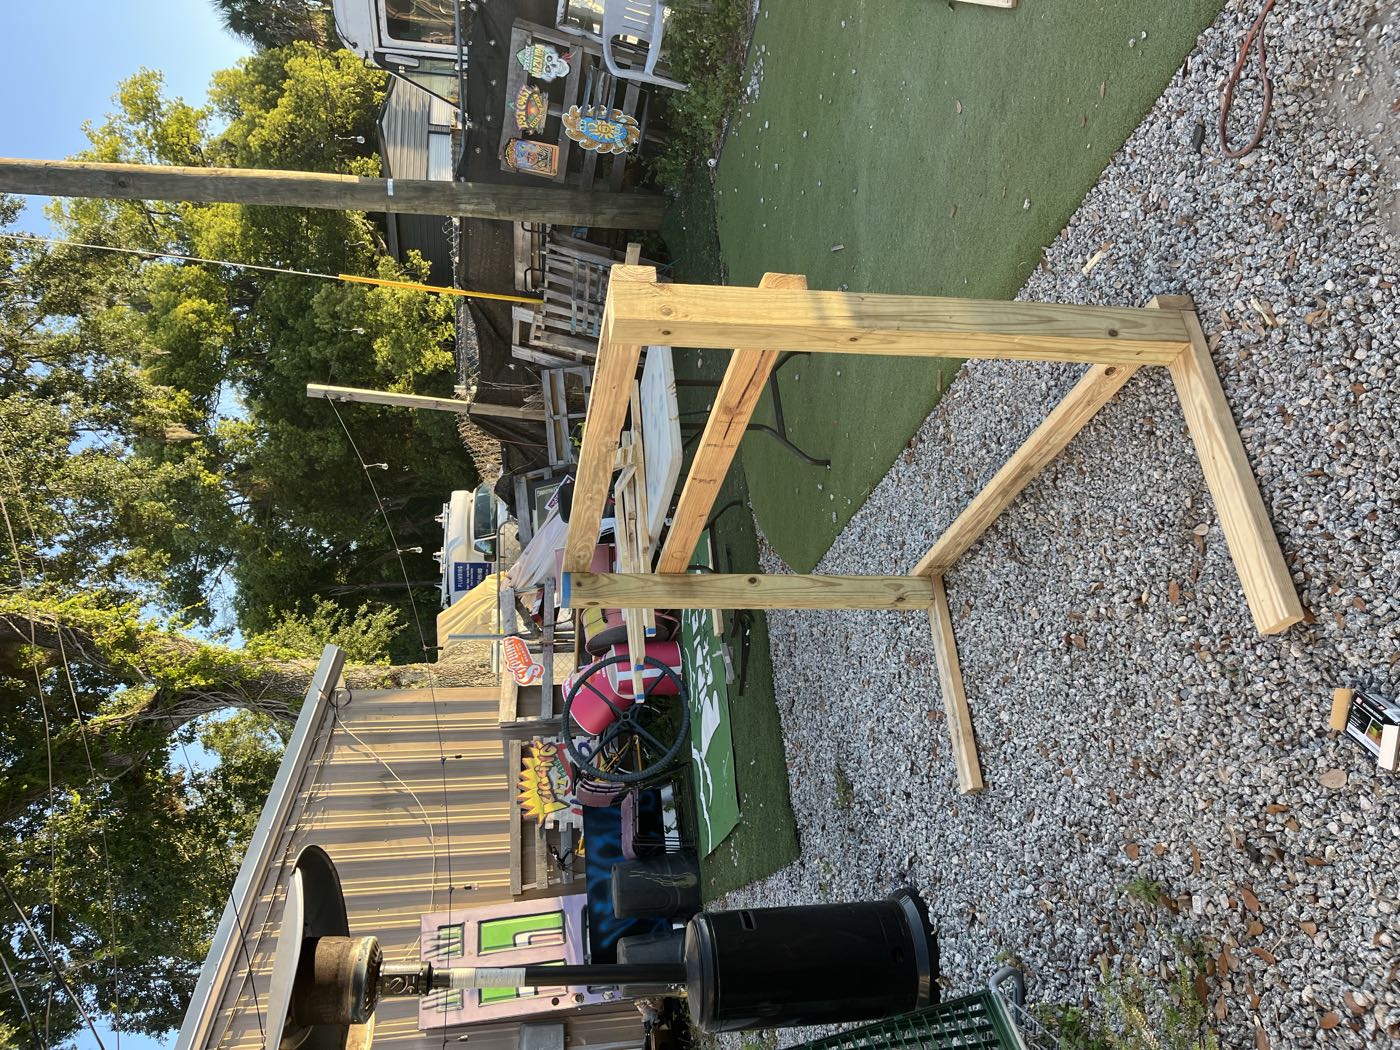
The skeleton stands
Same session: the first uprights go on and the frame stands at working height for the first time. From here the booth has its footprint — everything after this is skin and detail.
Apr 28Step 7 · Assemble
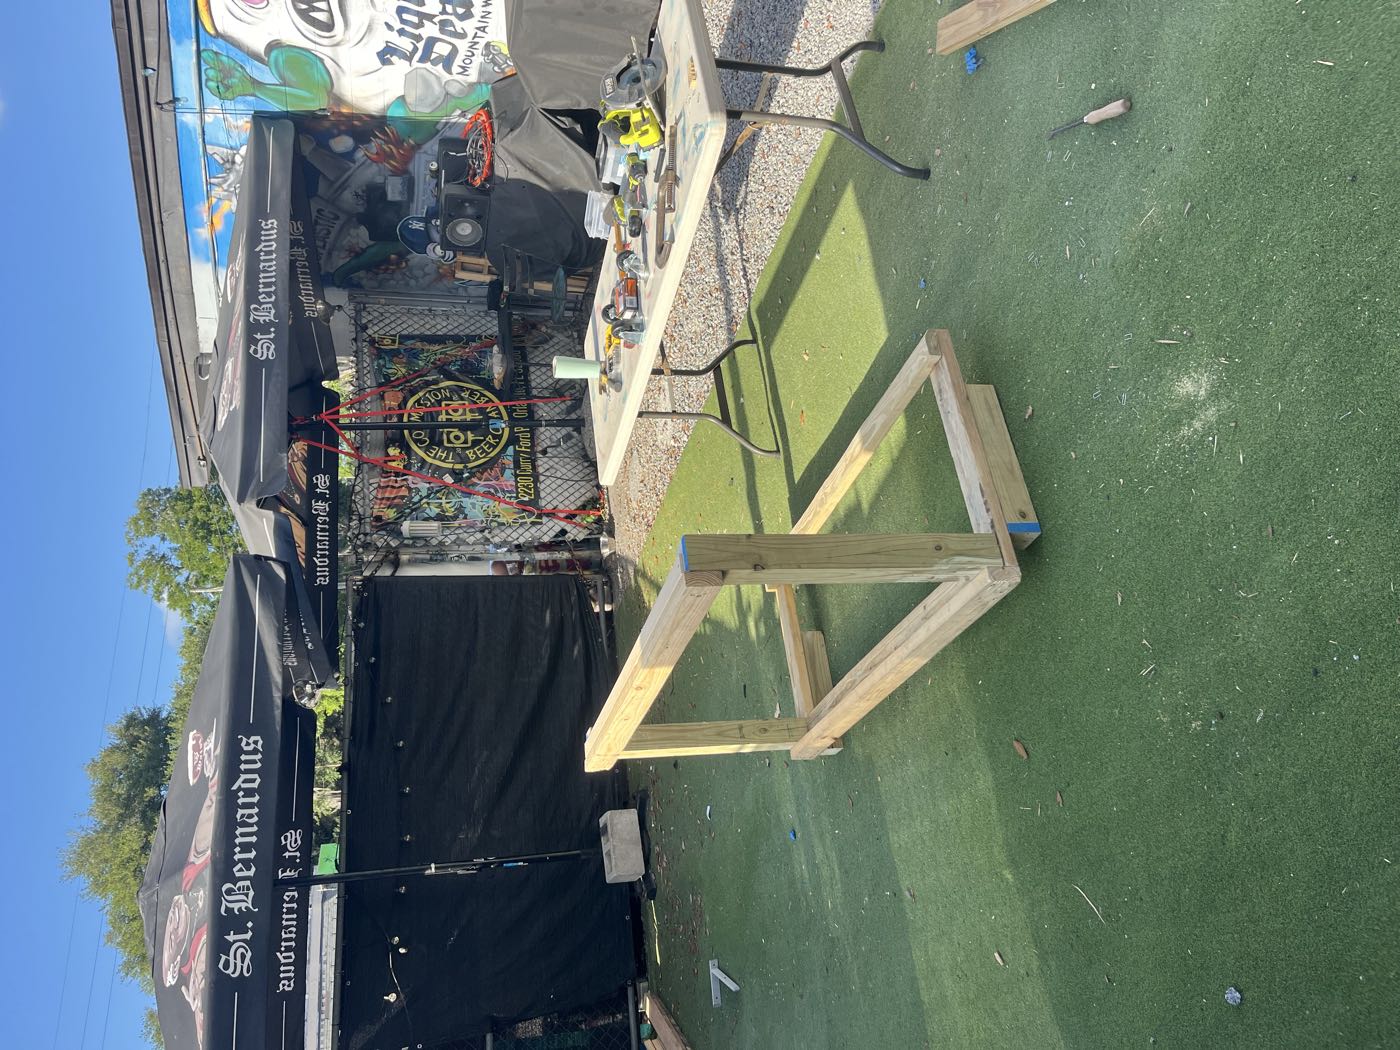
Square it before you trust it
Up on the work tables to check the frame is square and the joints are solid. Screws and pilot holes throughout, per the guide — a booth that carries gear and drinks and elbows cannot wobble.
May 6Step 7 · Assemble
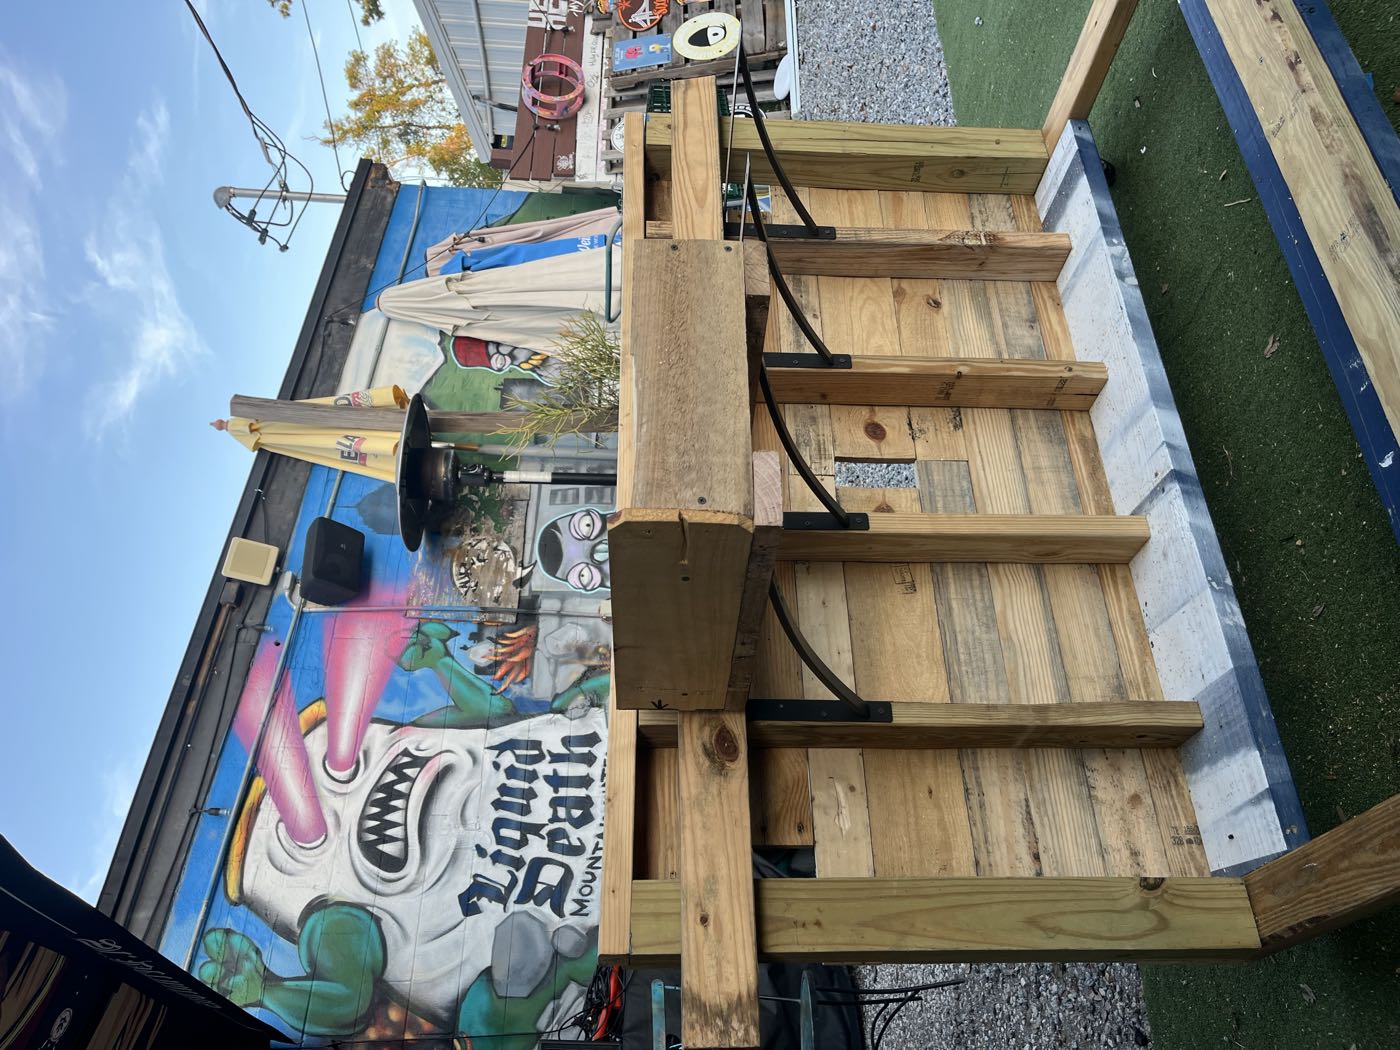
First skin
Cladding starts on the crowd-facing side: pallet boards run horizontally across the frame, mixed widths and tones left as they came. This is the character new lumber can't fake — every board already had a life.
May 8Step 7 · Assemble
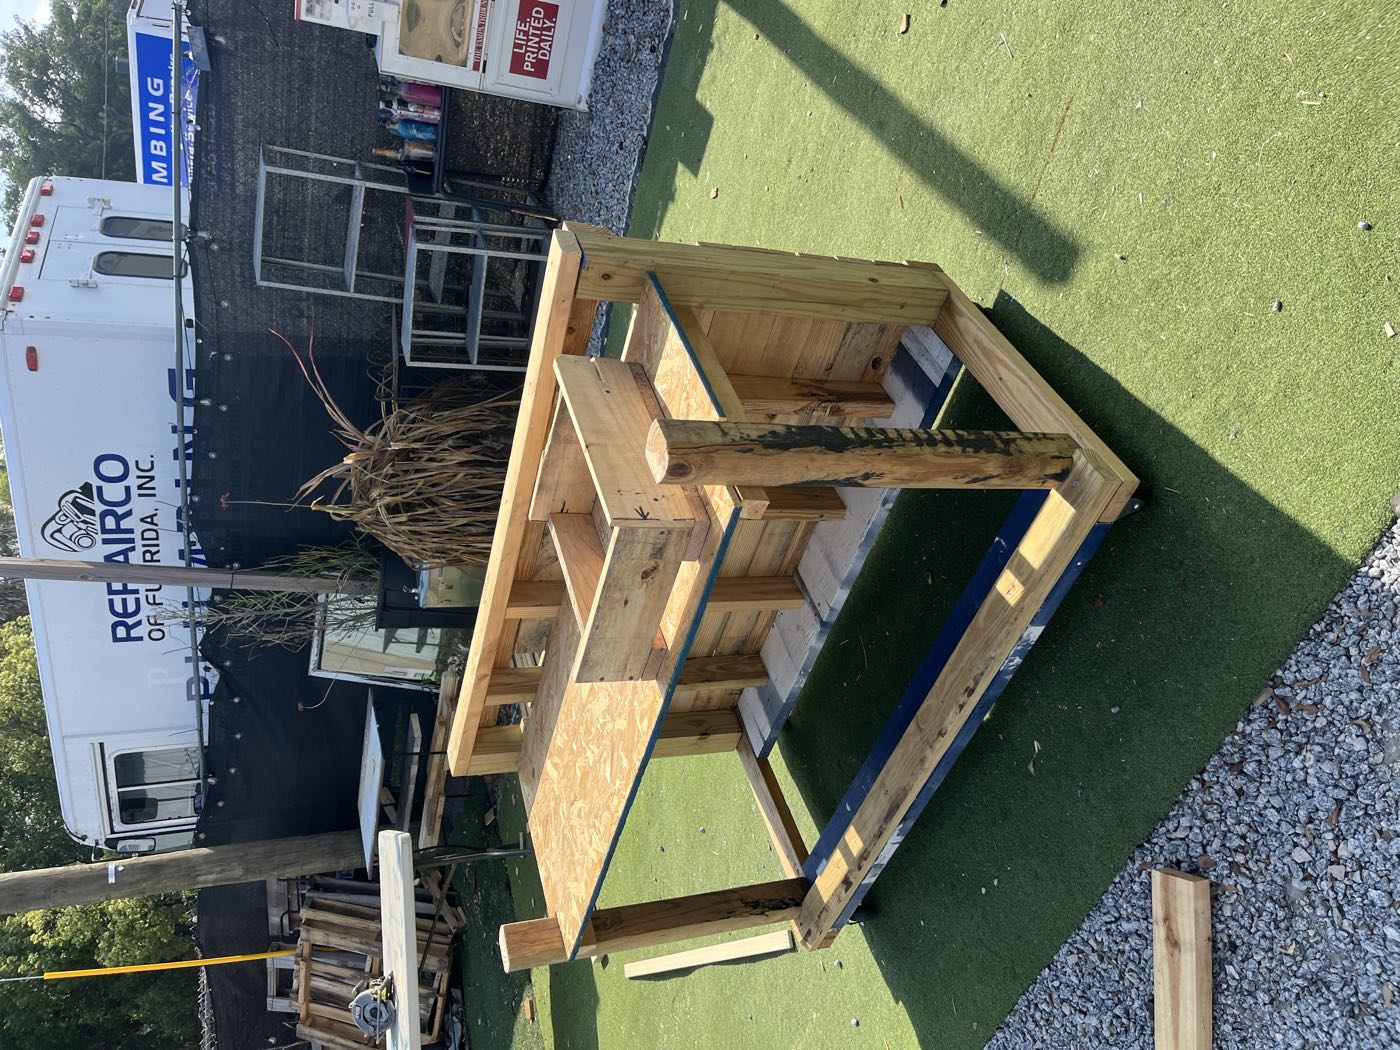
Cubbies on the working side
The DJ side gets open cubbies — shelf bays framed into the carcass for cables, cases, and a drink that is not on the decks. The two faces of the booth do different jobs, and the frame reflects it.
May 8Step 7 · Assemble
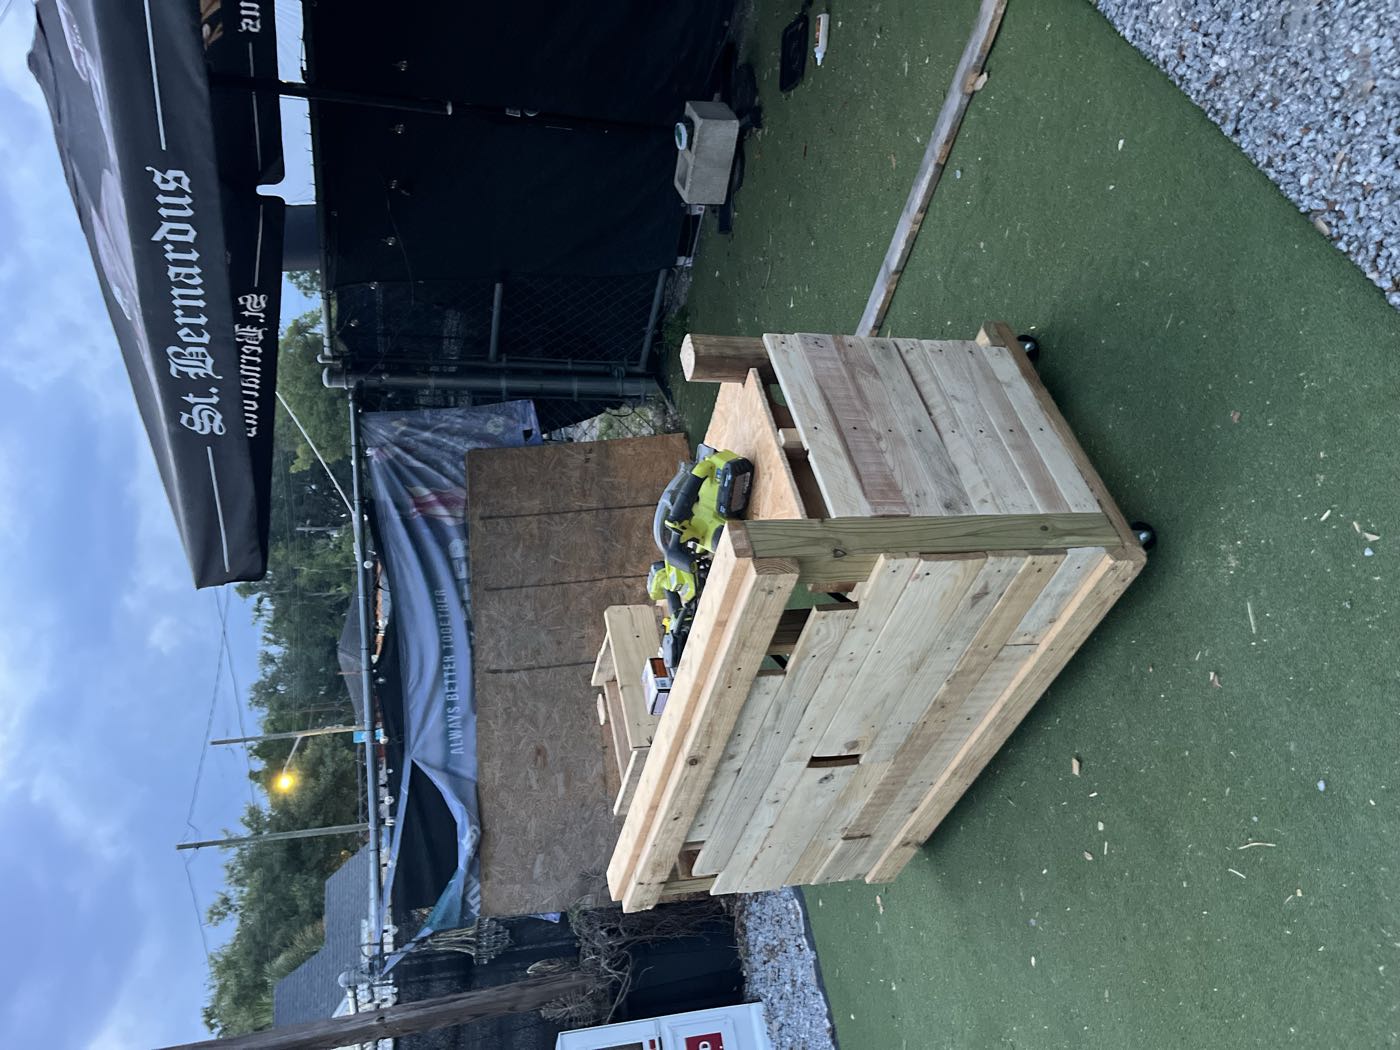
Closed in
By the end of the session the shell is closed. The drills live on top of the build between steps — the whole thing happens outdoors, in the yard of the venue where the booth will work.
May 11Step 7 · Assemble
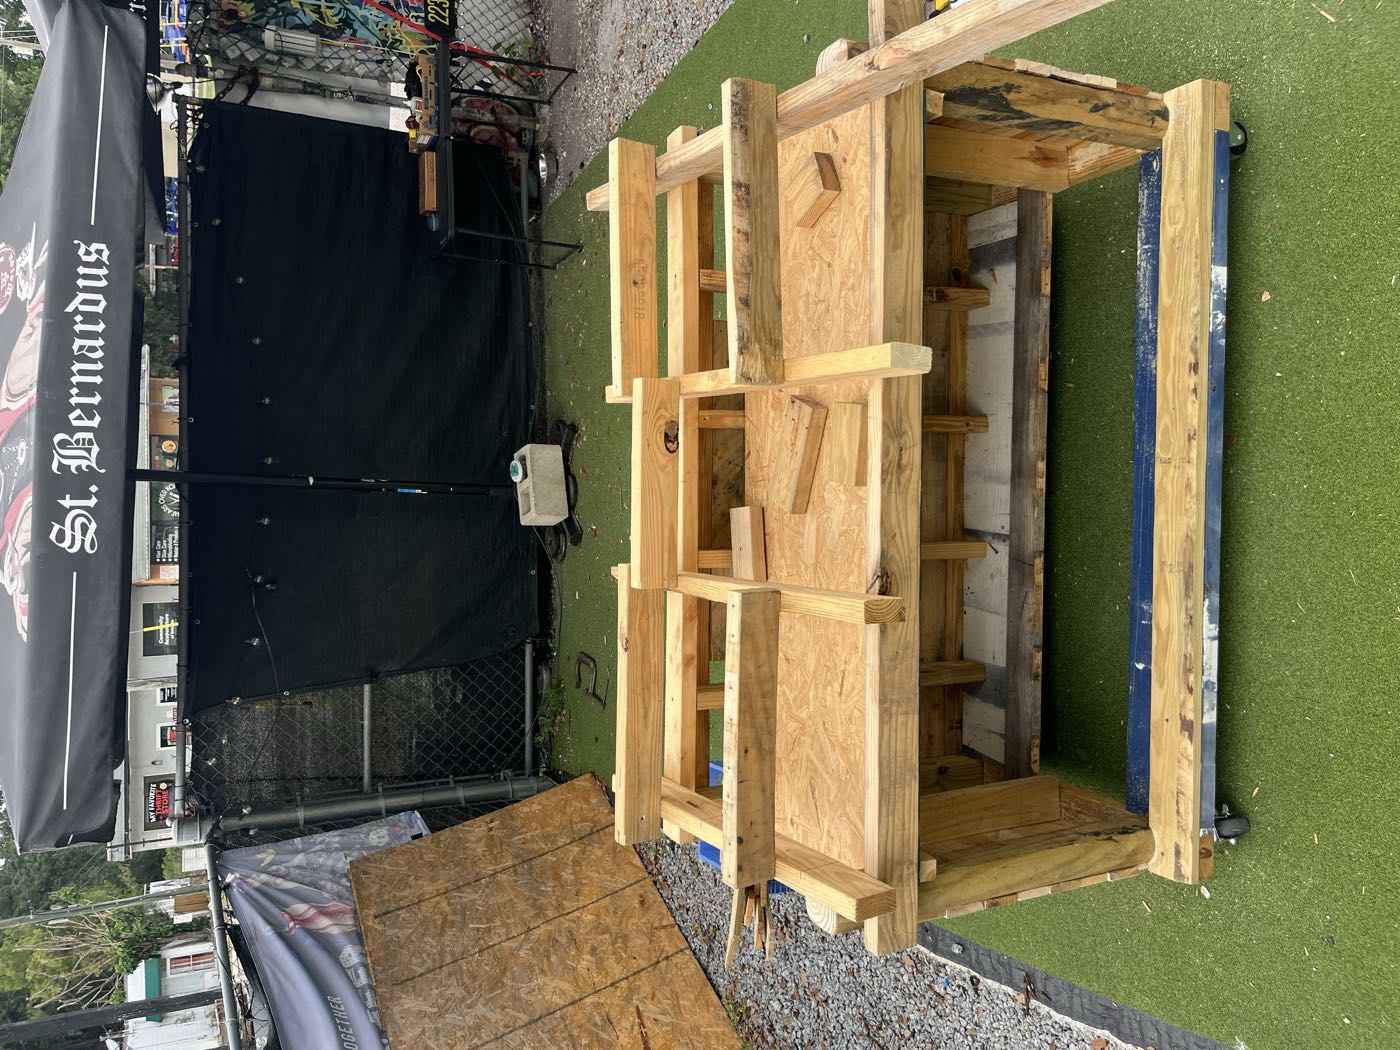
Framing the deck
The top is its own small build: a framed deck with blocking where the weight will sit. Getting this layer right decides whether the finished booth reads as furniture or as a pile of pallets.
May 13Step 5 · Design & measure
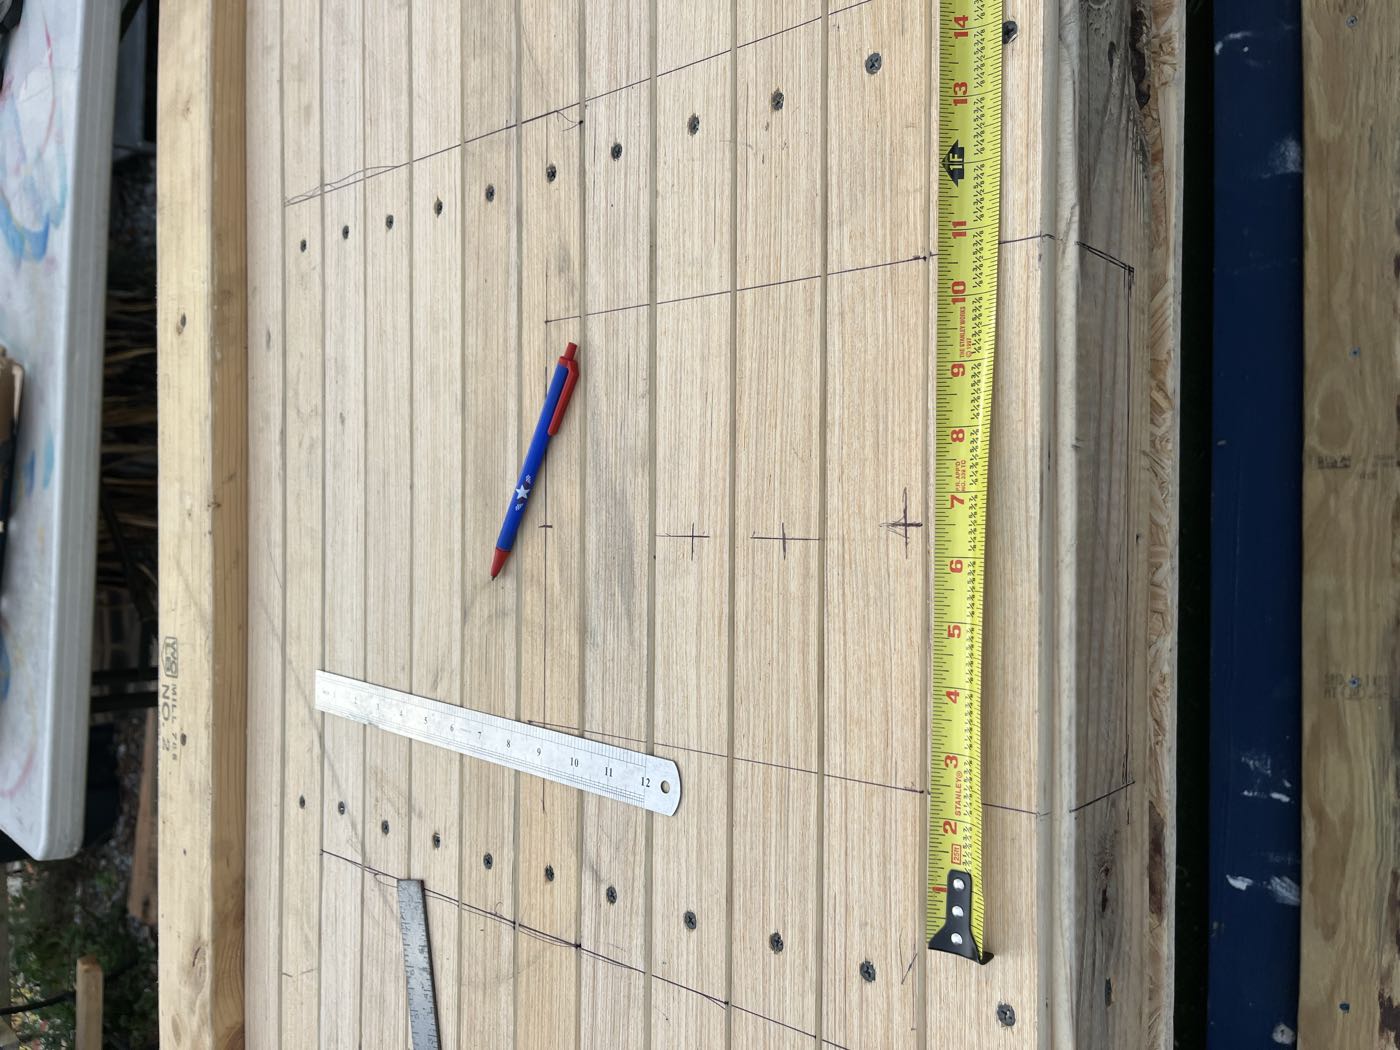
Layout, twice
Final session. Tape and pencil across the sanded deck to lay out the gear wells — measured twice, marked once, exactly the boring discipline the guide preaches. A cut in the finished top is the one mistake you cannot sand away.
May 13Step 8 · Finish
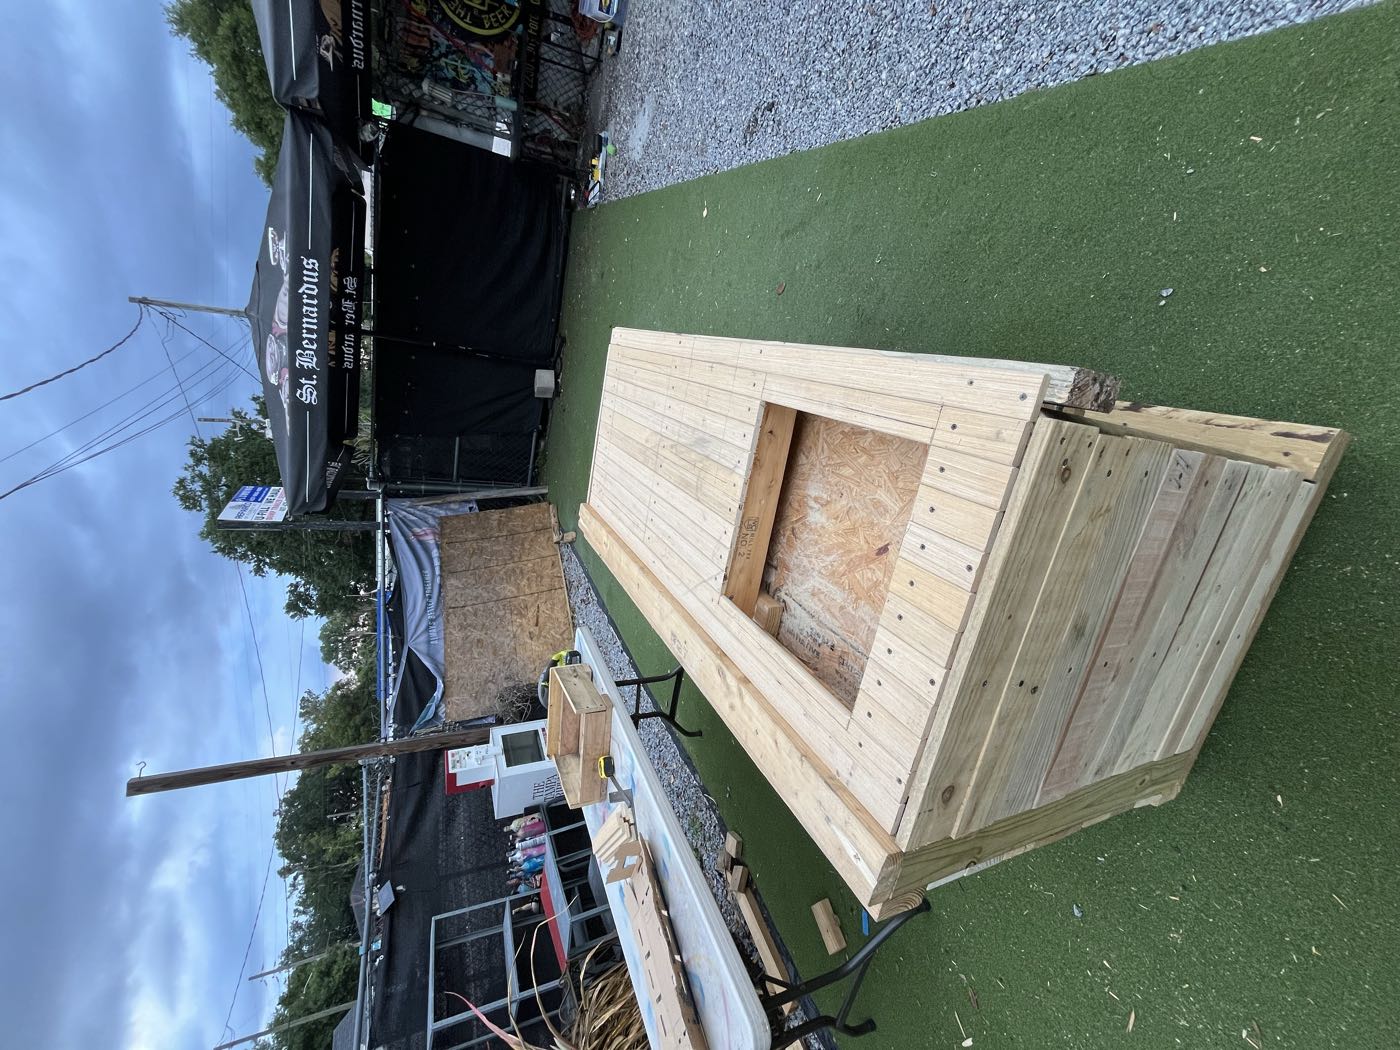
The gear wells
Two recessed wells drop the gear into the deck instead of perching it on top — screens at eye line, cables out of sight, nothing sliding off mid-set. The top is sanded through the grits to a uniform blond.
May 13Step 9 · Install
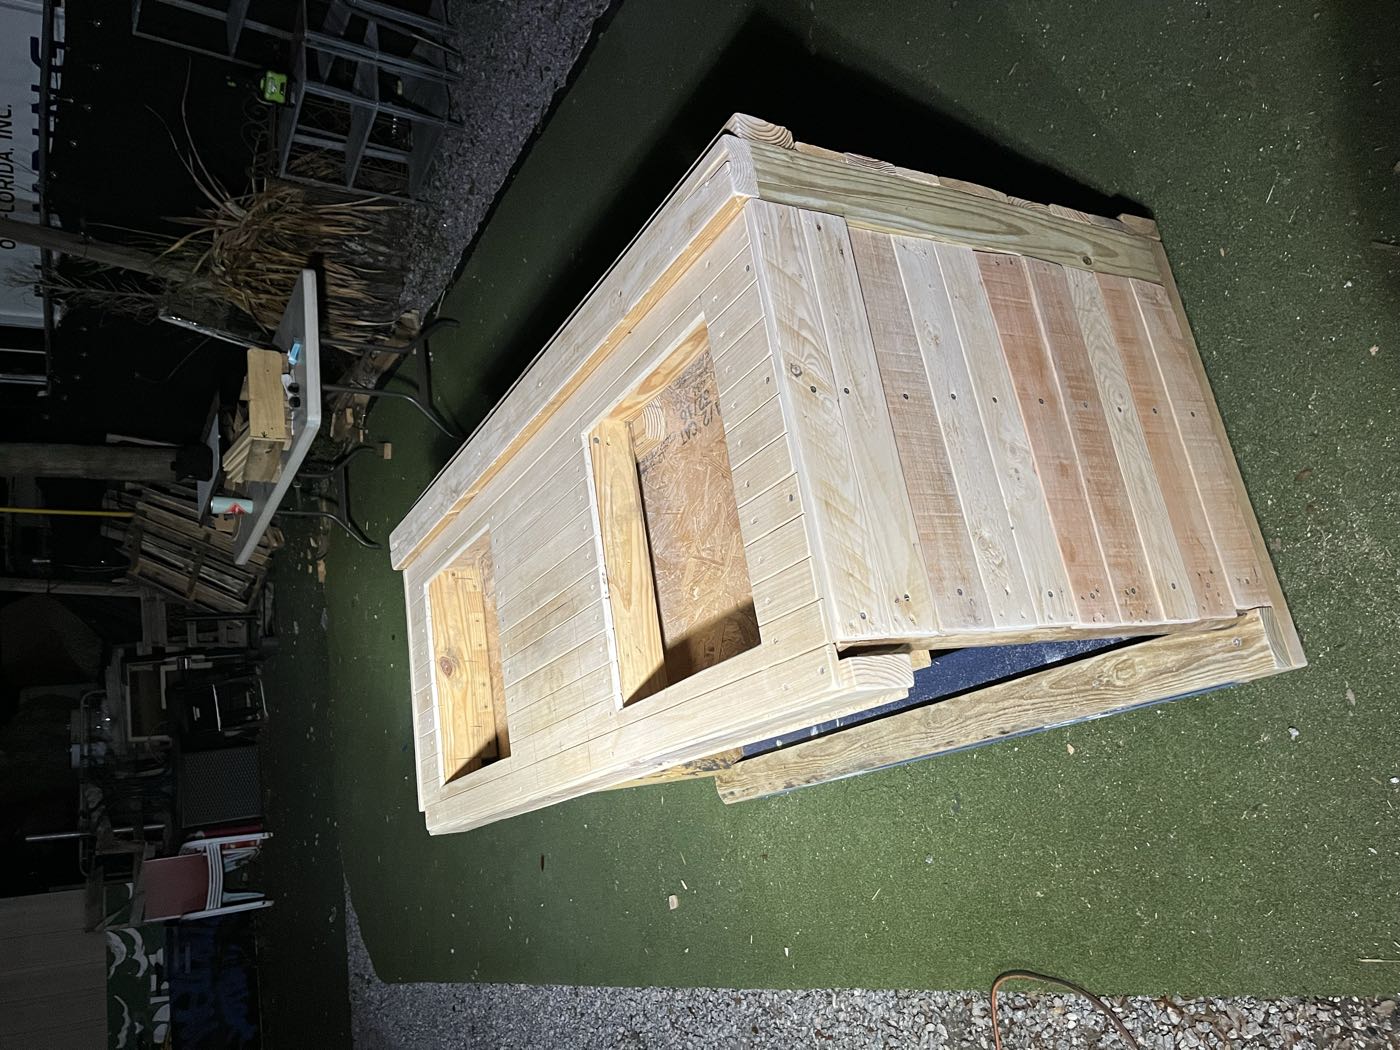
Done, at dusk
Twenty-nine days after the first truckload: the booth stands finished in the yard it was built in, photographed the way the guide closes every project — done, in place, and about to be used.