Build Real Things
from Pallet Wood
A practical field guide to sourcing, prepping, and building furniture from reclaimed pallets.
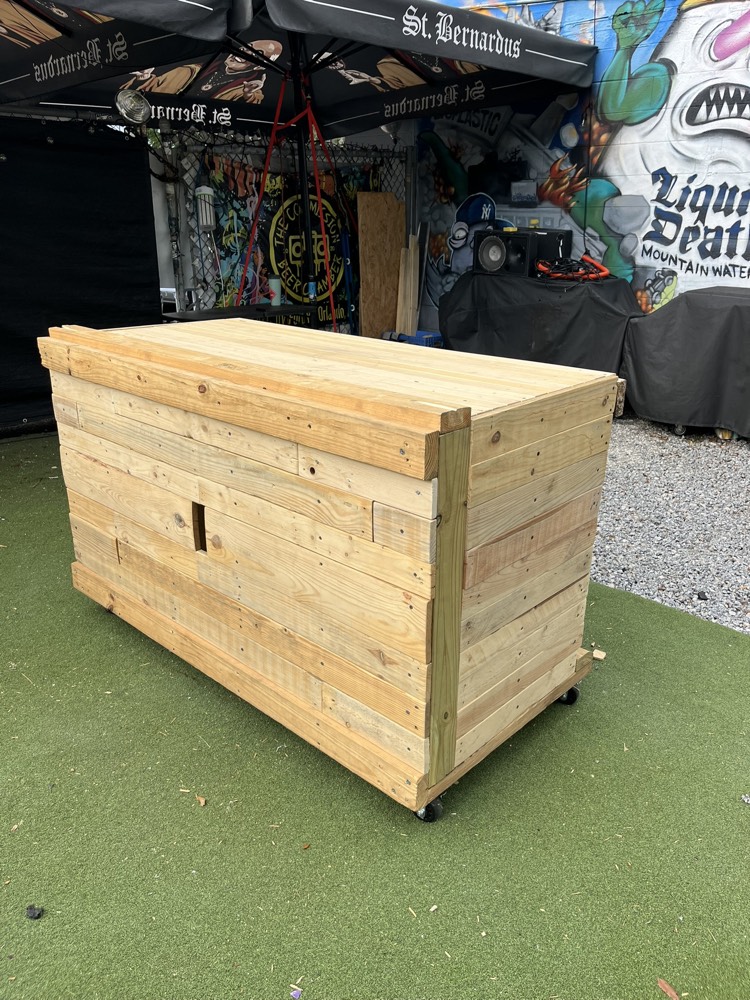
See the whole process run on a real build — The DJ Pallet Table, documented free, start to finish.
Why pallet wood
Pallets are everywhere. Most get used once and thrown away — millions of board-feet of usable softwood and hardwood, free for the asking. Turning that into furniture, fixtures, and builds is one of the cleanest forms of upcycling there is: the material already exists, the cost is mostly your time, and the result has a character new lumber can't fake.
But "free wood" comes with real things you have to know — some pallets are not safe to use, deconstruction is harder than it looks, and old wood needs proper prep. This guide covers all of it.
Who this is for
- First-timers who want to build something from pallets and don't know where to start.
- DIYers who've tried it and hit problems — split boards, bent nails, wobbly results.
- Anyone who wants the safety knowledge before bringing reclaimed wood into their home.
No prior woodworking experience assumed. If you can measure, cut, and drive a screw, you can do this.
Sourcing — where to get pallets
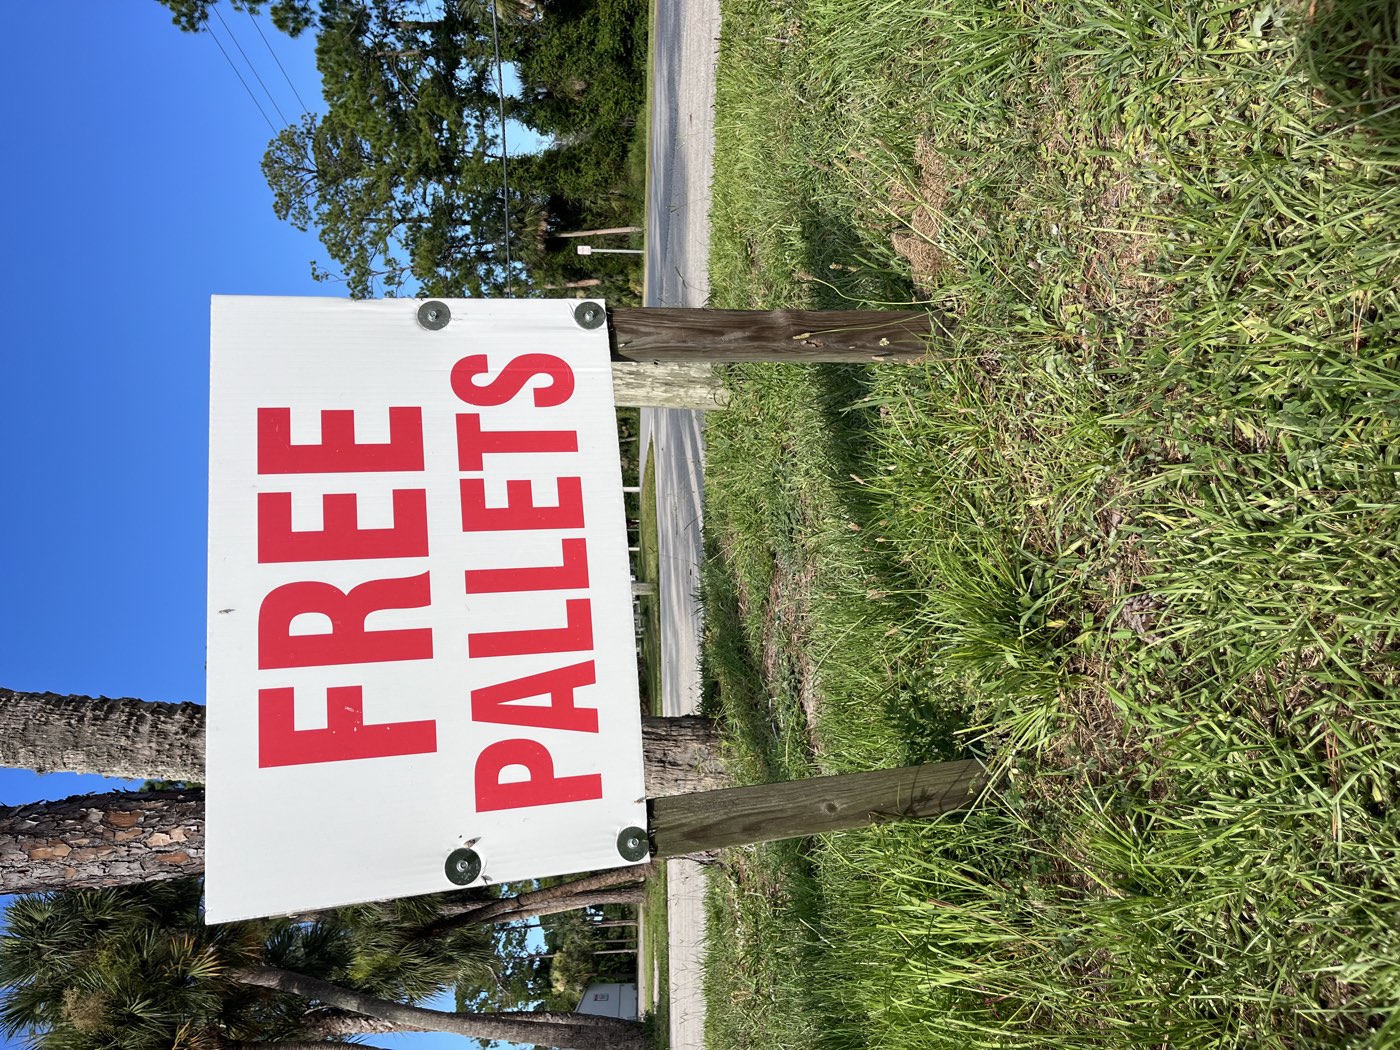
Pallets are one of the few genuinely free building materials. Most businesses pay to have them hauled away, so a polite ask usually gets a yes.
- Hardware stores, garden centers, nurseries
- Furniture and appliance stores
- Pet food / feed / farm-supply stores
- Liquor stores and beverage distributors
- Construction sites (ask the site manager first)
- Free listings on Marketplace / Craigslist
- Always ask. Don't take pallets off a property without permission — even if they look abandoned.
- Ask for the manager. Front-line staff often can't say yes; managers usually can.
- Take the good ones. Don't haul home cracked, soaked, or rotten pallets just because they're free.
Safety — which pallets are safe
The most important section in this guide. A small percentage of pallets are genuinely unsafe. Pallets used for international shipping carry an IPPC stamp — a stylized wheat-stalk logo next to a treatment code. The code is what matters.
Tools & safety gear
You don't need a full workshop. This is the realistic minimum.
- Pry bar / wrecking bar — separating boards from stringers
- Reciprocating saw + metal-cutting blades — the fastest way to break pallets down
- Hammer — knocking joints apart, punching nails through
- Nail punch / pliers / cat's paw — removing old nails
- Circular saw or miter saw — cutting to length
- Drill / driver — pilot holes and screws
- Orbital sander + sandpaper (60/80/120/220)
- Tape measure, speed square, pencil, clamps
Wood prep
- Remove all fasteners. Pull or punch out every nail and staple — a single missed nail will ruin a saw blade or sander pad.
- Sort the wood. Boards vary in thickness, width, and quality. Sort into good faces, structural pieces, and scrap.
- Clean. Brush off dirt, wipe down, and let damp wood dry fully before building.
- Sand in stages. Coarse first (60–80) to knock down roughness, then 120, then 220 for surfaces touched or seen.
- Check for damage. Set aside cracked, split, rotted, or warped boards. Pallet wood is free — be picky.
The 9-step process
Every pallet build — a shelf, a table, a planter, a bar — follows the same nine steps. Learn the process once; it works for any project.
Start a pallet project — checklist
Use this before your first cut. If you can check every box, you're ready to start.
☐ Only plain, discarded pallets
☐ Reject spills / stains / smells
☐ Gloves, eye protection, dust mask
☐ Ask permission before taking
☐ Collect 30–40% extra material
☐ Saw (circular / miter / recip)
☐ Sander + 60/120/220
☐ Tape, square, pencil
☐ No nails or staples remain
☐ Sorted by thickness / quality
☐ Rough sketch of the build
0:20 — Deconstruct one pallet fully
1:00 — Remove all nails / staples from usable boards
1:30 — Sort boards by size / quality + quick cleanup
Real pallet builds
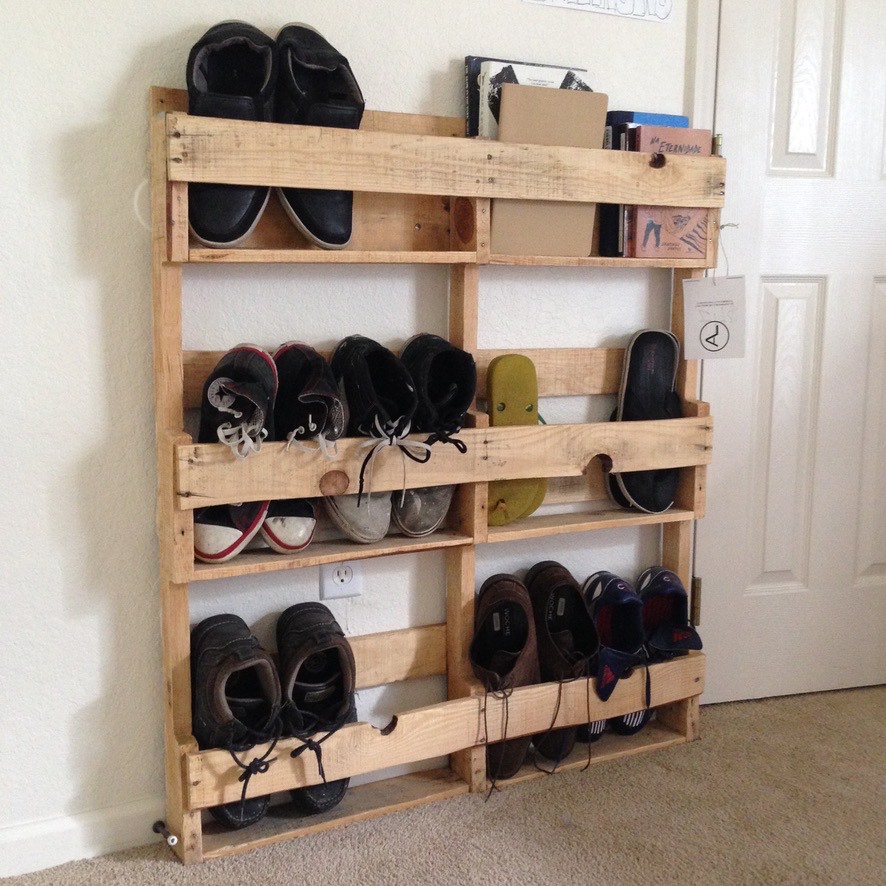
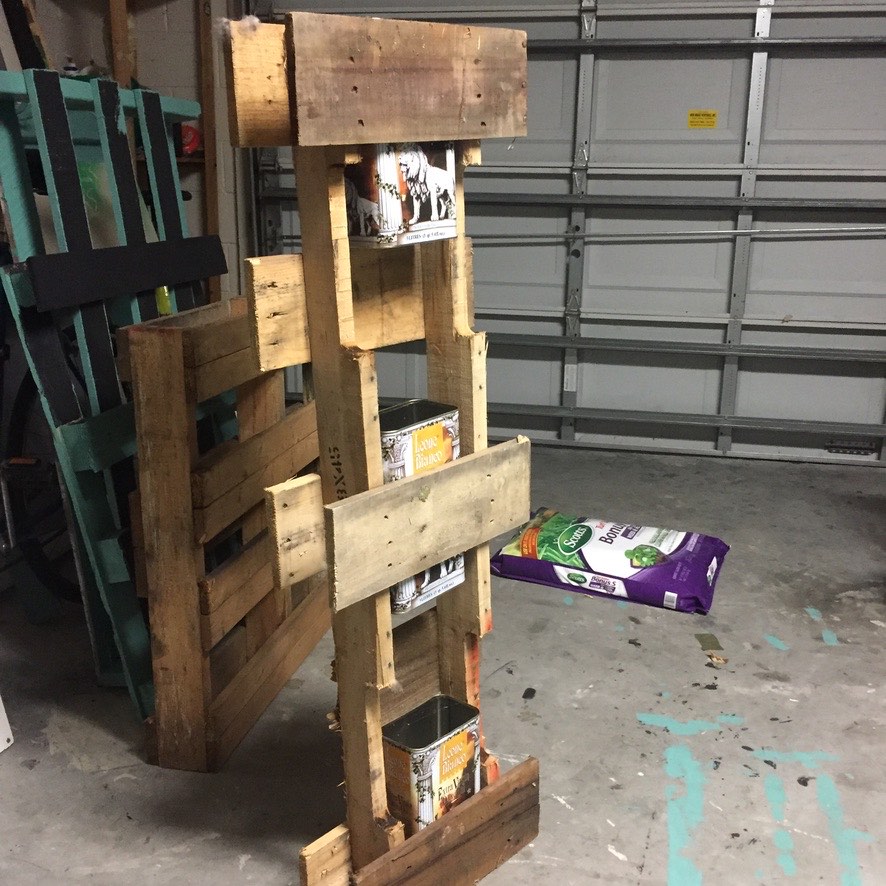
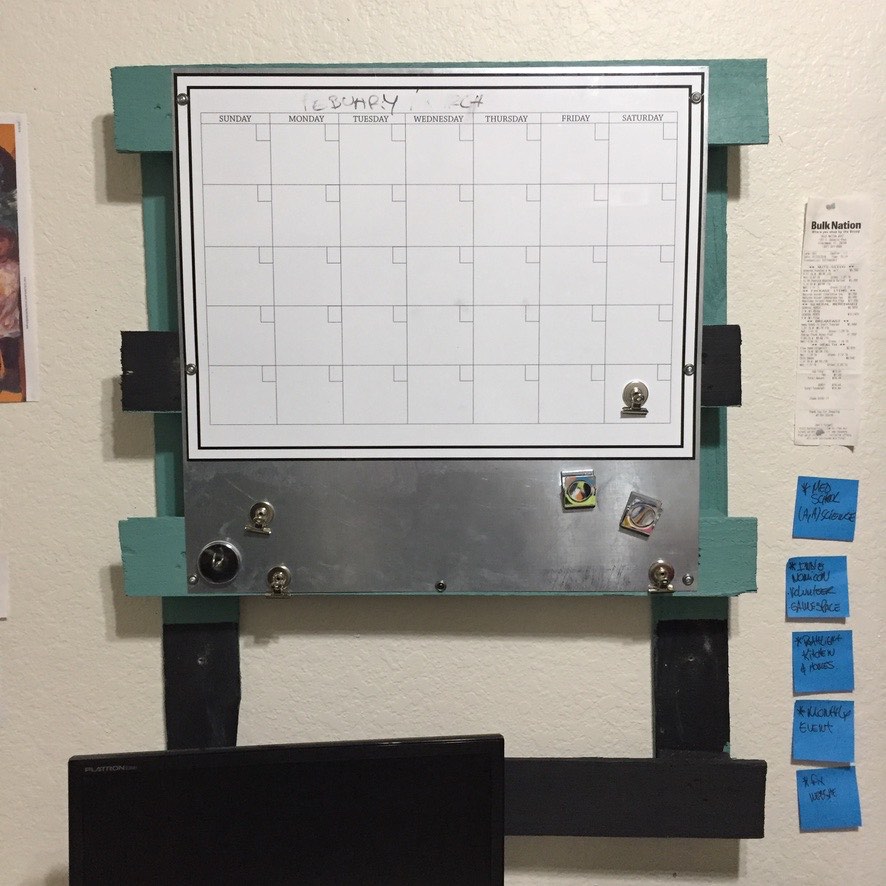
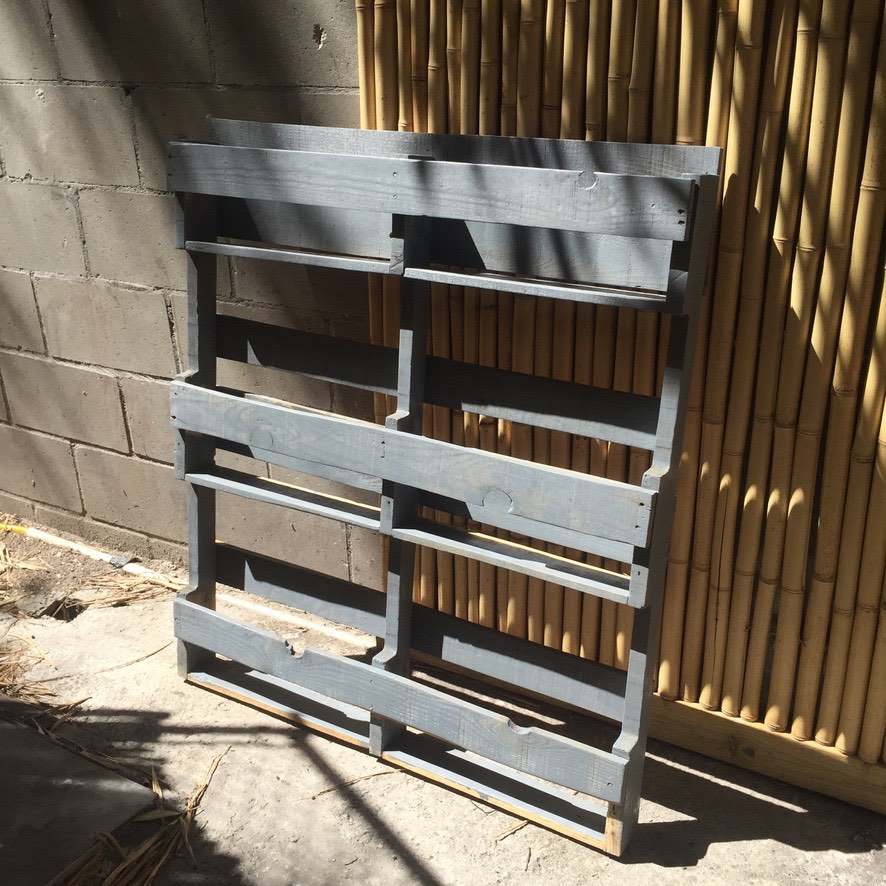
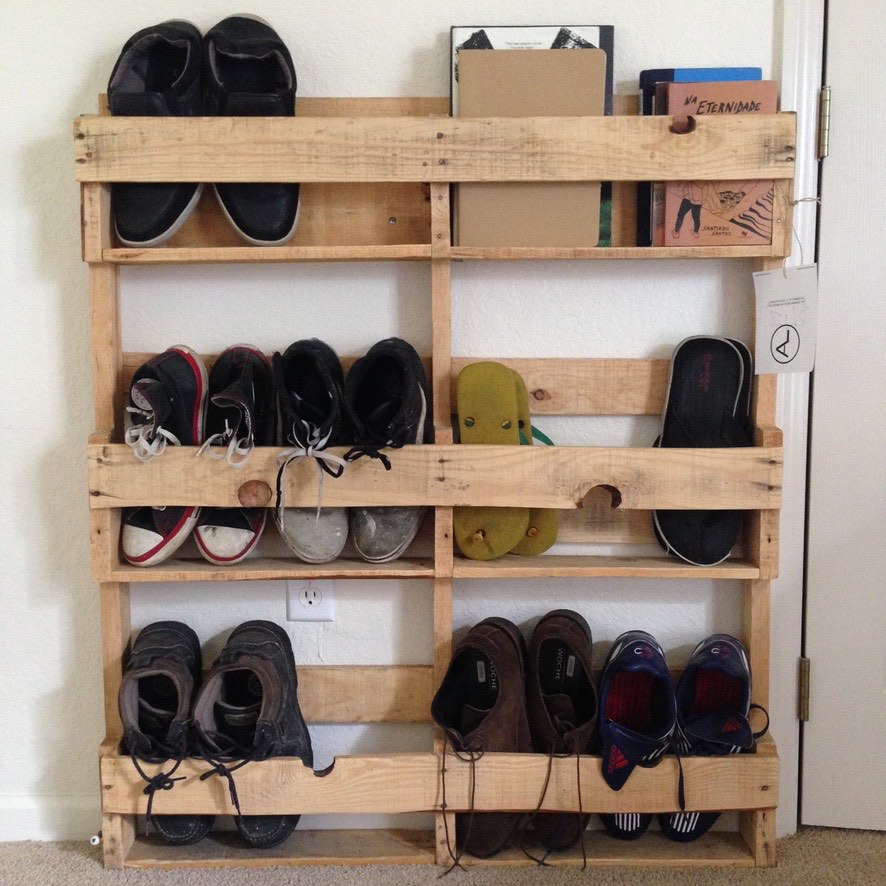
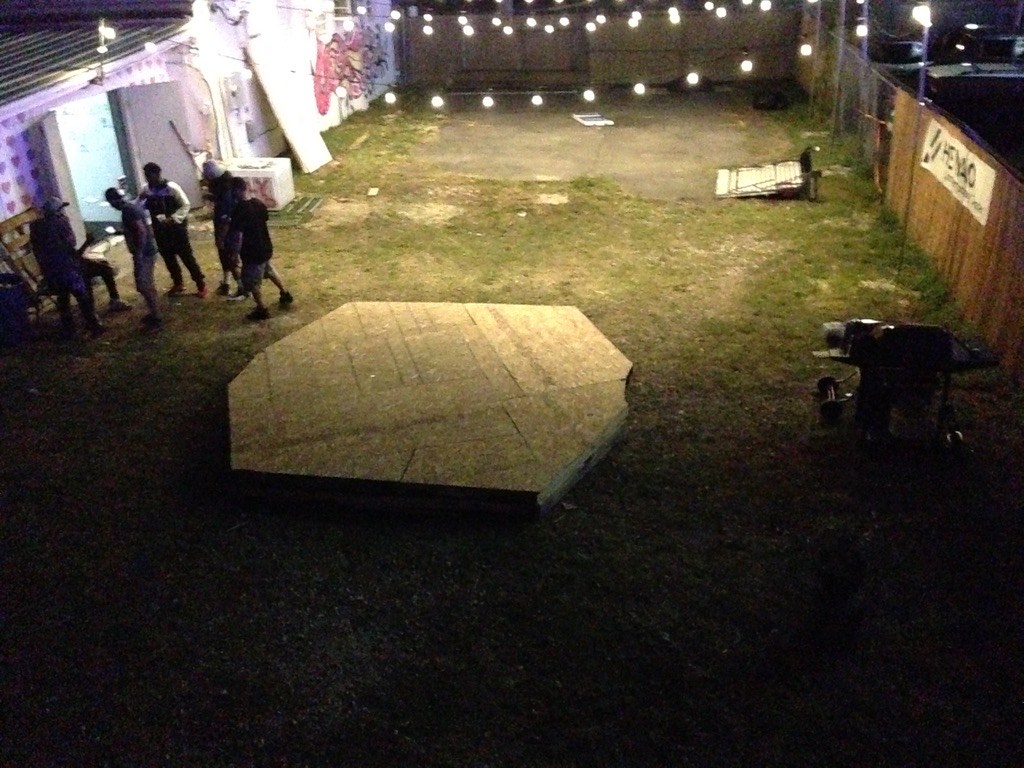
Everything below started as a discarded pallet — same nine steps, wildly different results.